MAC the Knife
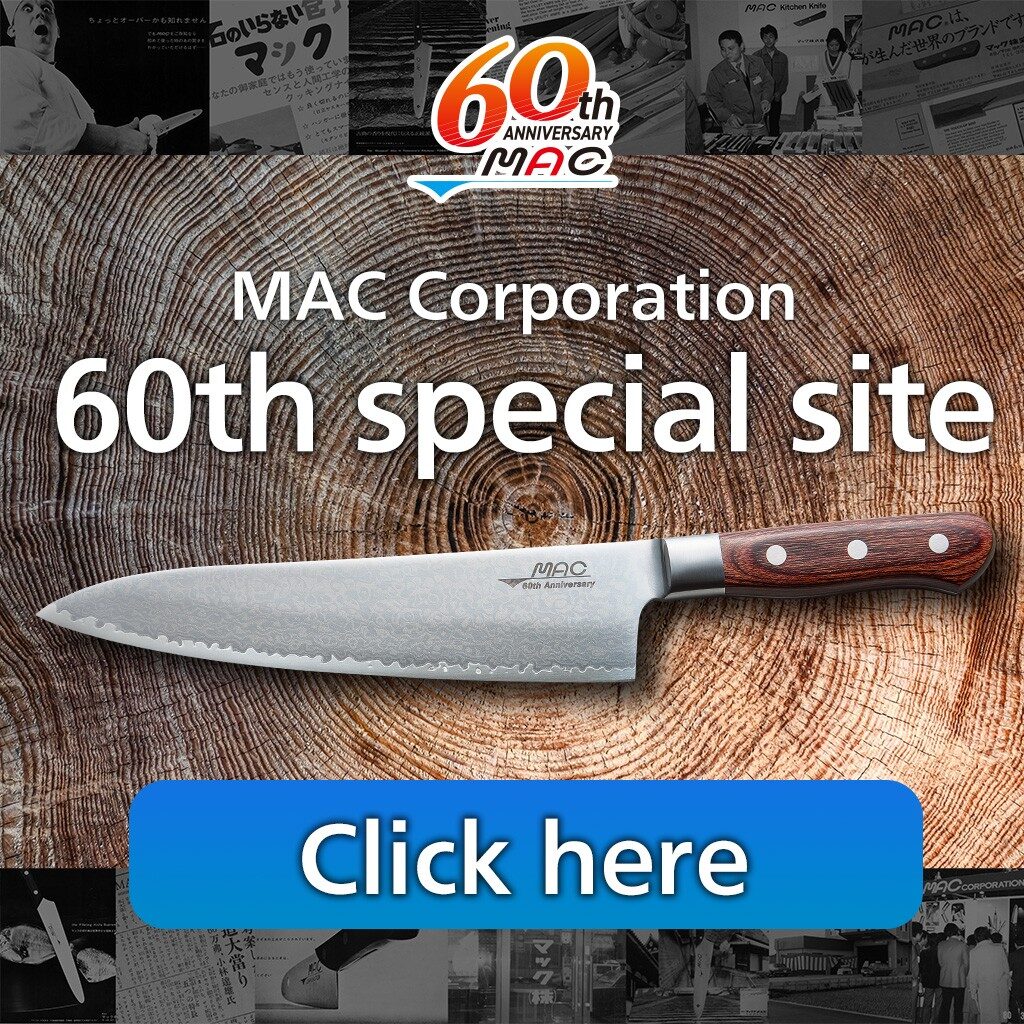
This year marks the 60th anniversary of our company's founding. We would like to express our sincere gratitude for your warm support. We hope you will continue to use MAC knives for a long time.


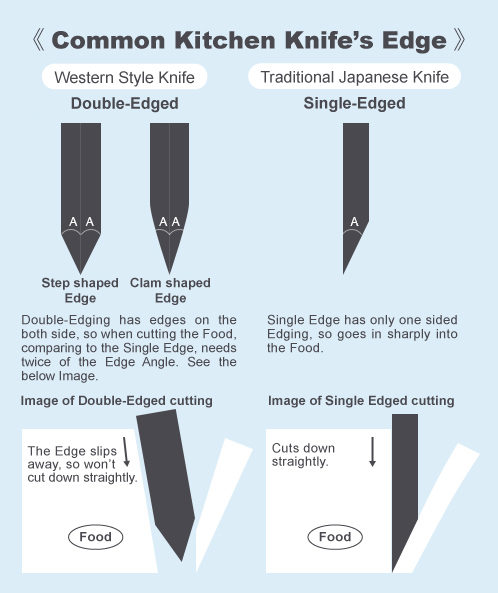
In 1954, Our Chairman studied in a College of Arts in Chicago, U.S.A. While he was studying abroad, he had a Part-time job in a Restaurant as a Chef. He was given a heavy, dull (blunt), dangerous pointed tipped German knife and was having a hard time using it. Once, he accidently dropped the knife on to the floor. The knife stuck on the floor and nearly stabbed his feet. When he tried to twist the knife and pull it out from the floor, about 3 cm from the tip was broken. The broken blade looked very ugly, so he fixed it by using the whetstone and made the tip round (curved) and put the edge on it. He recalls that after that the knife’s usability had improved very much and his job progressed very well. He thought, why does the kitchen knife’s blade tip needs to be like spear? What’s more, there was no inconvenience with the round shaped tip when cooking.
He returned to Japan in 1958 and had worked in several fields. But his recall of the round shaped tip knife pushed him to establish MAC Corporation
In 1965, to design more safer/sharper/lighter and easy to use knife, MAC Corporation
was established.
Registering more than 2 Patents and the Design, he had released the MAC Knife into the world.
Since then, over 30 Million knives has been sold worldwide.
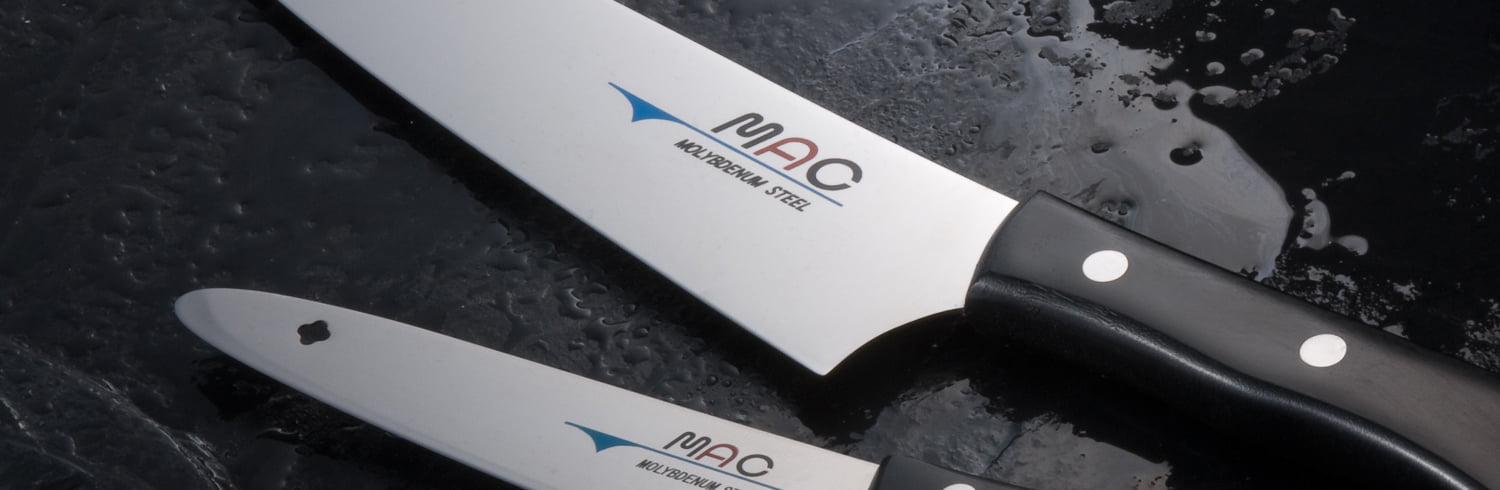
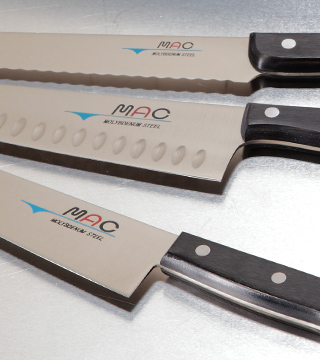
For most of our Western Style Knives, we are using a High-Grade Special Steel that had met our desired Blade condition.
Adding Carbon to iron to increase hardness, adding Chrome to make it difficult to rust,adding Molybdenum and some other rare metals to make it more abrasion resistance.
It is one of a common High-Grade Special Steel that is used for High-end Kitchen Knives.
High hardness, difficult to get rusty and has flexibility (glutinous) makes us able to make a thin blade with a laser sharp edge.
As it contains more Carbon, it cannot avoid completely from getting rusty.
The Stainless Steel like used in knife and fork which doesn’t get rusty, has reduced Carbon and increased Chrome. The hardness is low, can bent or break easily, cannot keep the sharpness which is not suitable for a Kitchen Knife.
Press out the basic Shape of the knife from the Steel Plate and holes for attaching the Handles.

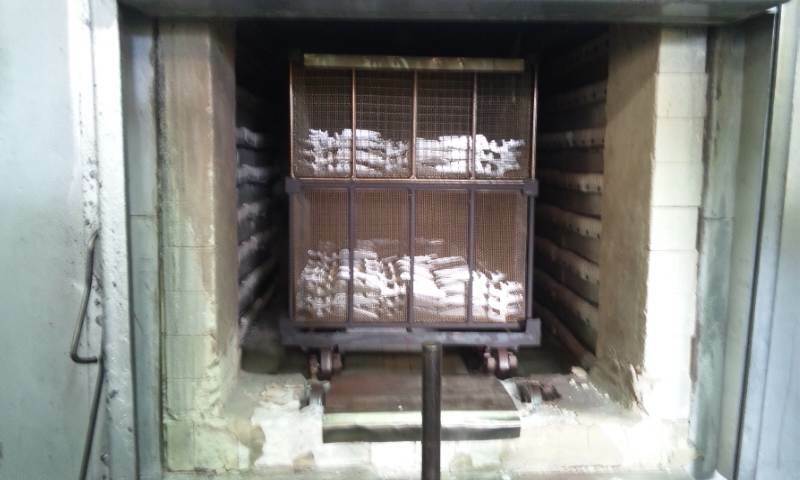
Go through the Oven under Pre-heating and then through the Main Oven in an Anoxia Condition, over 1,000℃ temperature.
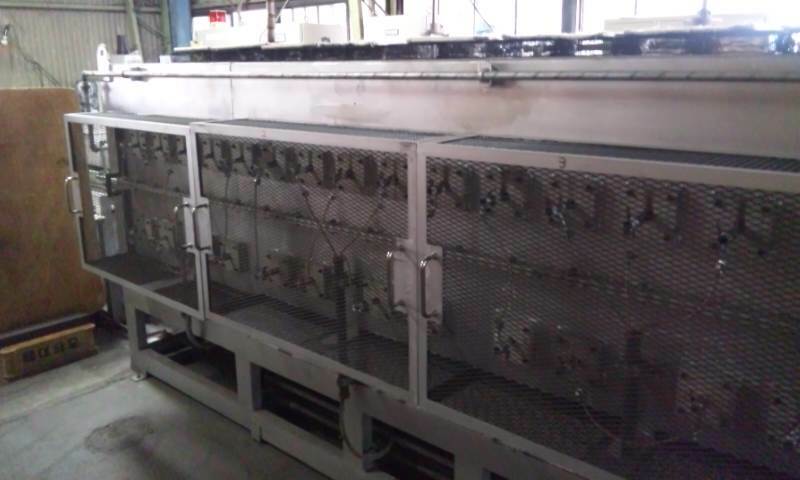
Put into an another Oven to re-burn the Material in about 200℃. This makes the Material pliability.
Using the Automatic Grinding Machines, both side of the Blade, from the back side to the Edge side and from the Heel side to to Tip, grind the Blade.
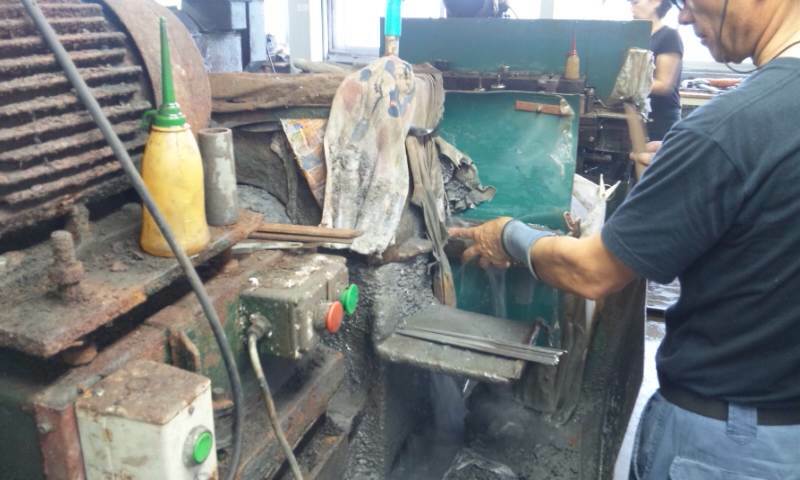
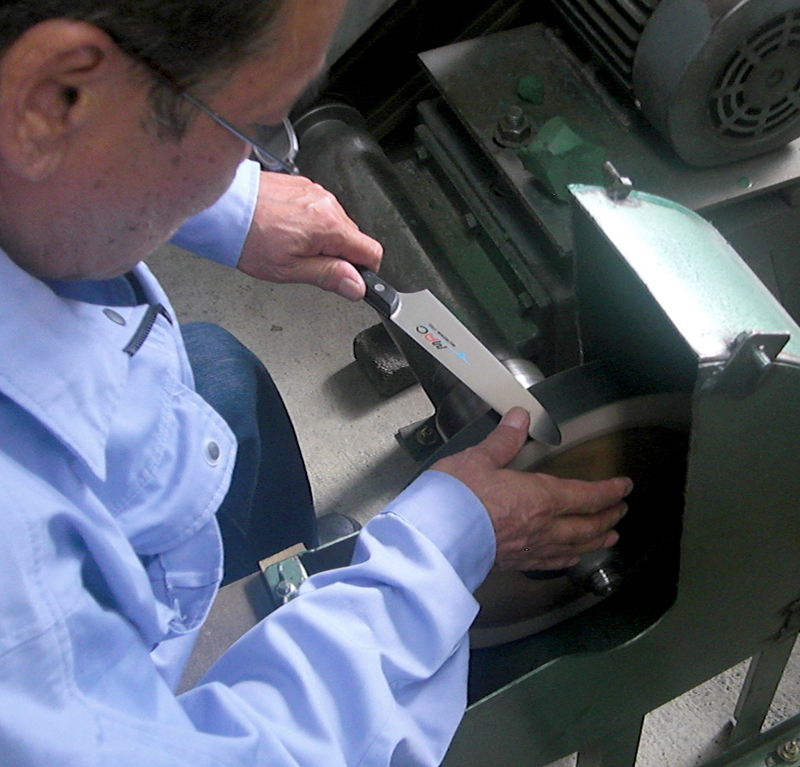
By Skilled Craftsman, grinds and polishes the Blade from the middle part of the Blade to the the Edge side and thins the Blade.

Using the Automatic Polishing Machines, polishes away the steps on the Blade.
Putting on the LOGOS and other Marks.
Attaching the Handle on to the Knife.
Polishing the Handle to make it smooth and comfortable to fit in your Hands.
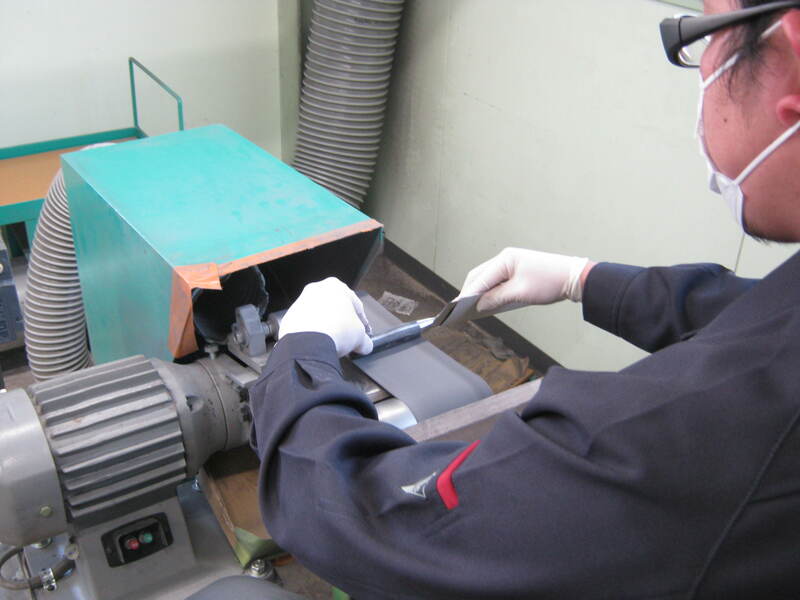
Putting on the basic Edge on the Edge of the Blade.
Getting the rough Burr on the Edge.

Smoothing down the rough Burr.
Finalizing the Sharp Edge on the Blade.
Wiping off the dust and dirt, left on the Knife and inspecting any scratches or any cracks or any other defects on the knife.
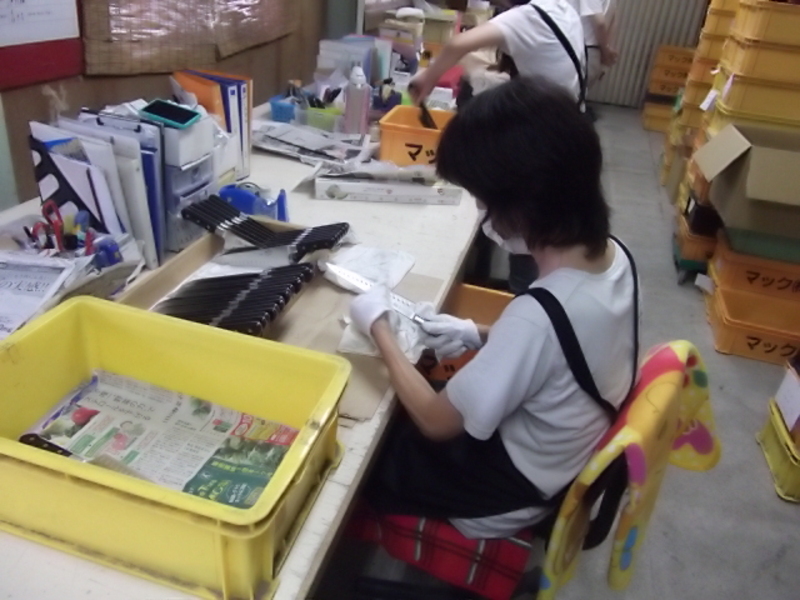
Checking the sharpness/weight/shape and doing the final eye sight inspections before packing and delivery.
| Kind of Knife | Item | Number of Processes |
|---|---|---|
| With Dimples and a Bolster | MCK-105-D/MTH-80/MSK-65 | About 104 |
| With a Bolster |
MBK-110/MBK-95/MBK-85/MKS-105/SO-70/ BON-60/PKF-60/PKF-50/PKF-30/MSB-105 |
About 96 |
| With Dimples | TH-80/TH-50/SSL-130 | About 89 |
| Other MAC Knives |
BK-120/BK-100/BK-80/HB-85/HB-70/HB-55/ HB-40/BS-90/AB-Series/etc |
About 83 |